Introduction
Greetings, tech enthusiasts and public speaking aficionados alike! I’m Duane, and today, I’m here to offer an intertwined narrative of my five-year odyssey in DevOps and Toastmasters. With 18 years of programming already under my belt, the last five years have been a transformative journey in both DevOps and public speaking. So without further ado, let’s explore this exciting saga.
Table of Contents
- Setting the Stage: 18 Years in Programming and Toastmasters Beginnings
- Year One: Mastering DevOps and Public Speaking
- Year Two: Automation, Leadership, AWS, and Linux Foundation Training
- Year Three: Teamwork, Rhetoric, Kubernetes, and MIT’s Cloud & DevOps Course
- Year Four: Clouds, Oratory, AI Trading, and MLOps
- Year Five: Machine Learning, Mastery, and CISSP
- The Golden Nuggets: Lessons Learned
- The Horizon: What’s Next?
Setting the Stage: 18 Years in Programming and Toastmasters Beginnings
Before diving into DevOps, I was a seasoned programmer, eager for new challenges. Concurrently, I joined Toastmasters to polish my communication and leadership skills.
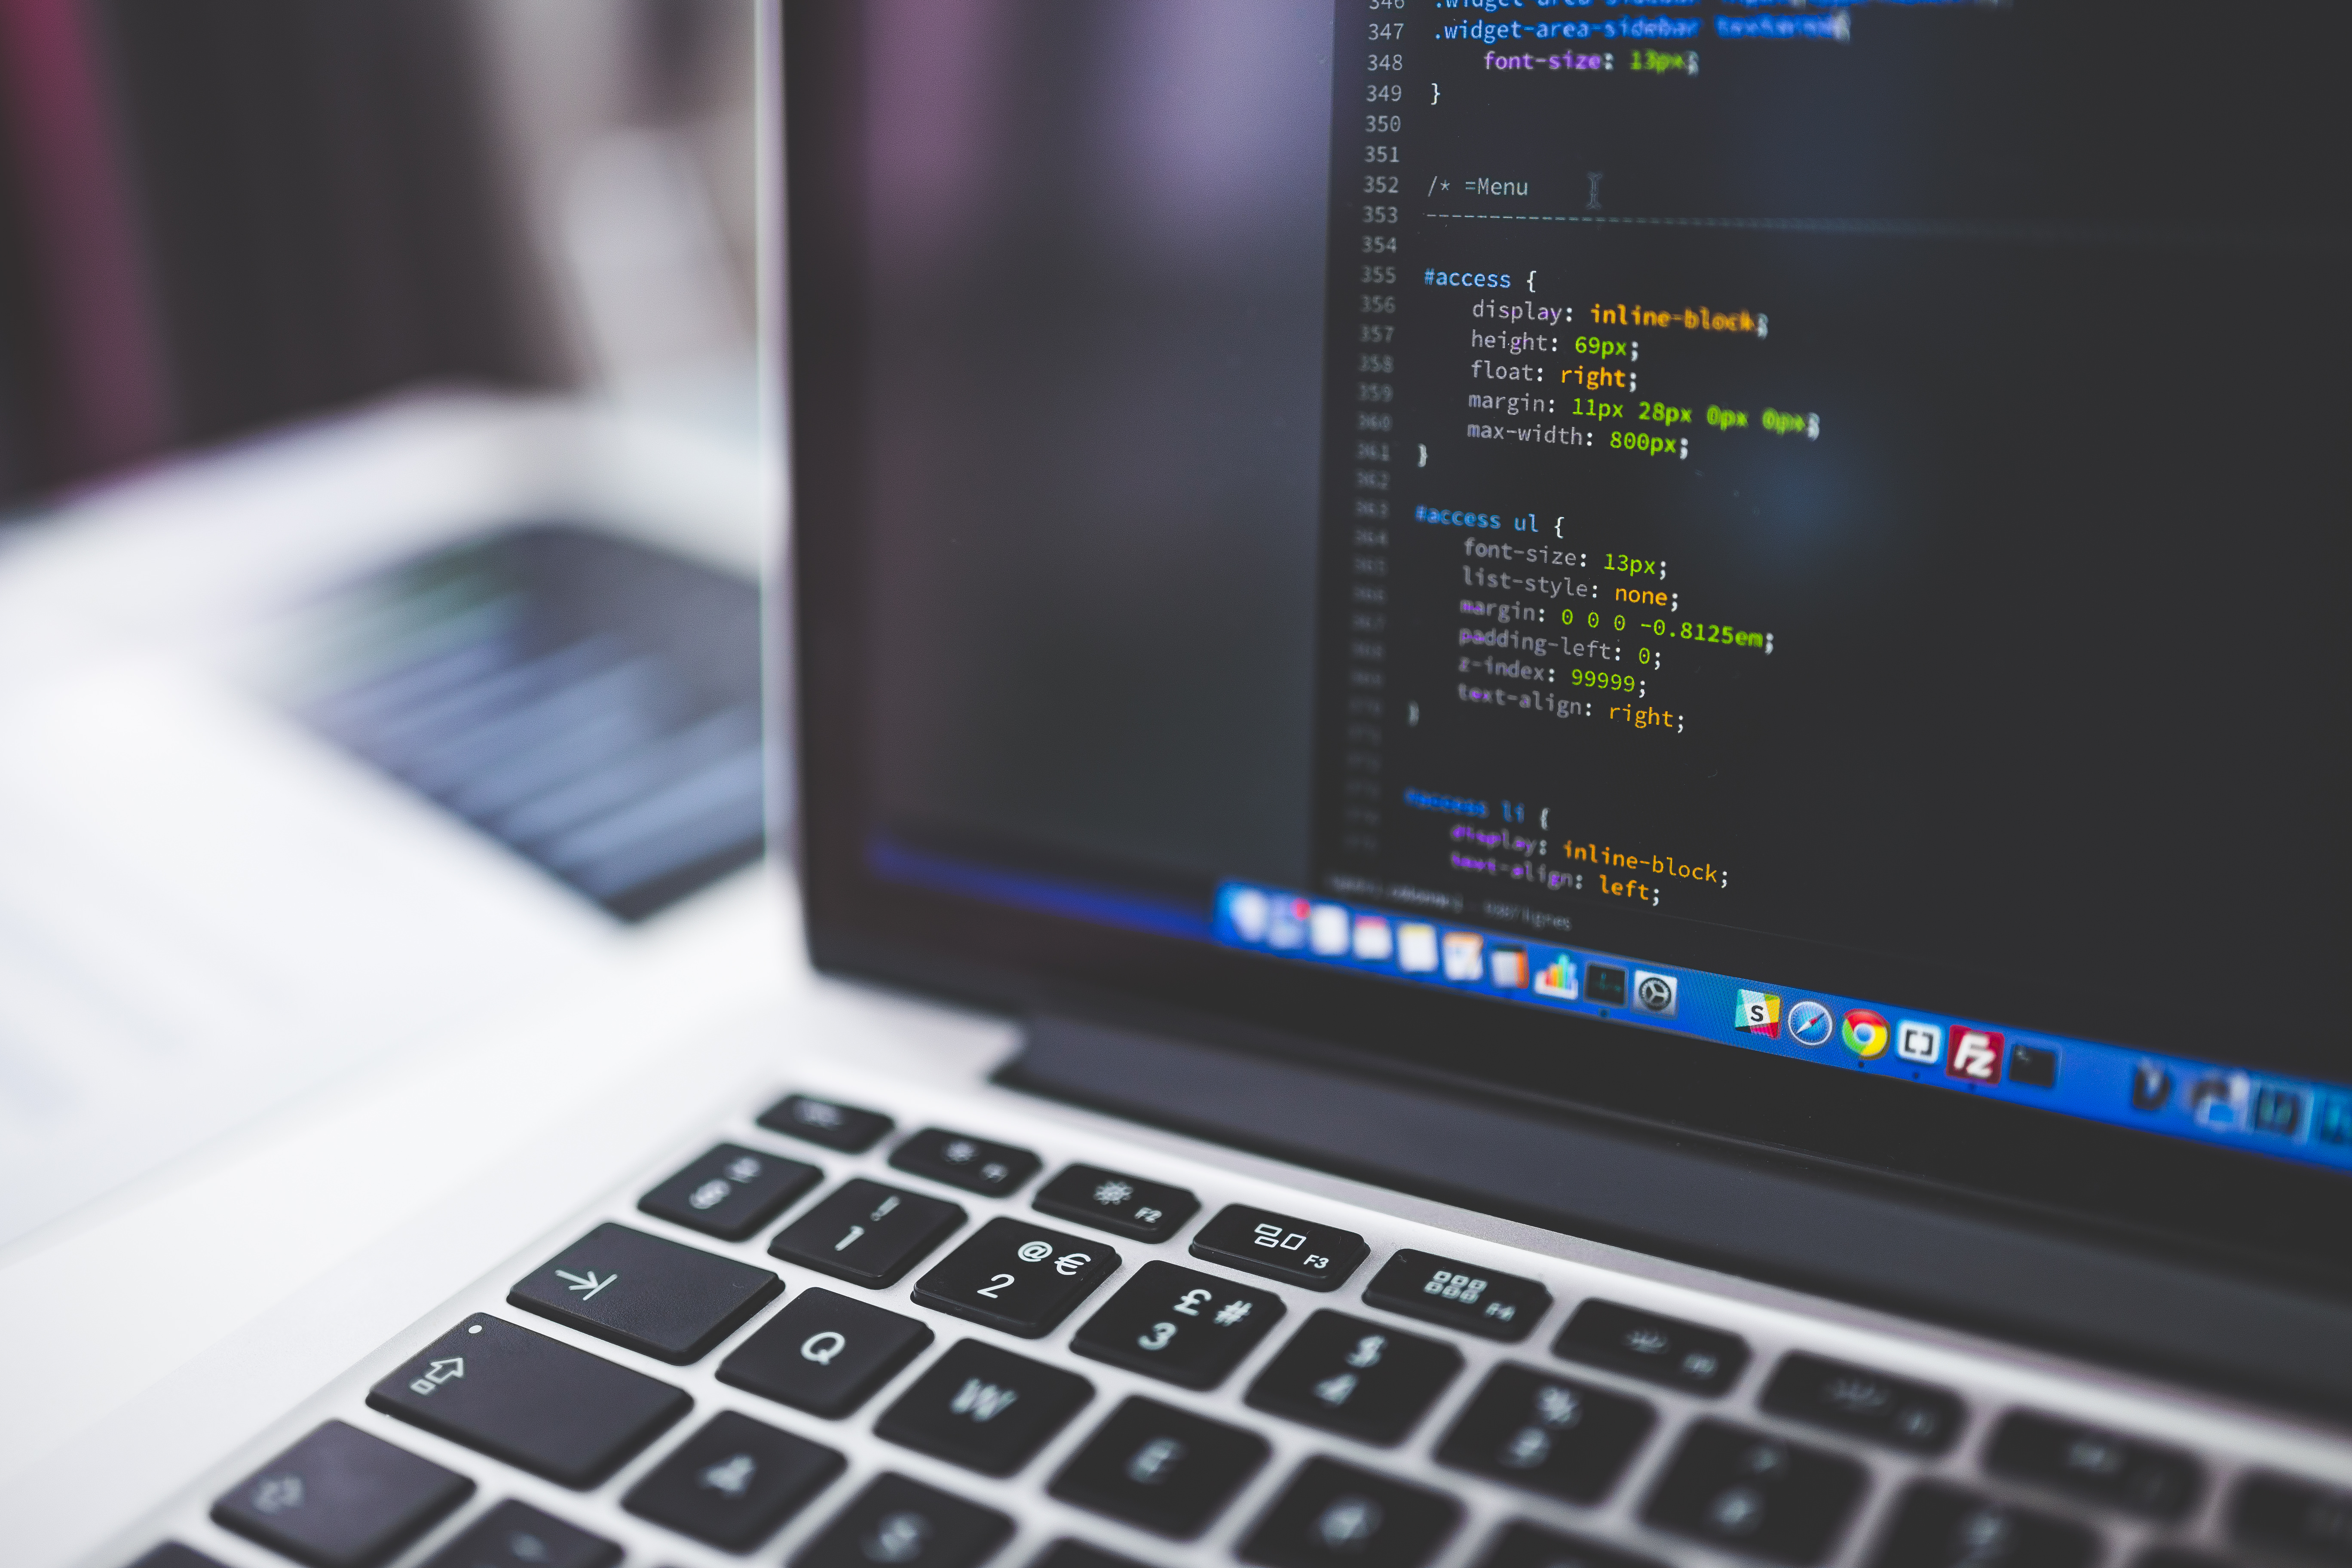
Year One: Mastering DevOps and Public Speaking
The first year was about laying strong foundations. In DevOps, I focused on marrying my programming knowledge with concepts like CI/CD and automation. Simultaneously, I completed my Ice Breaker speech in Toastmasters, setting the stage for more complex public speaking endeavors.
Year Two: Automation, Leadership, AWS, and Linux Foundation Training
In my second year, automation in DevOps and leadership roles in Toastmasters were my focus areas. This year marked a milestone as I attained my AWS Certified DevOps Professional certification and completed “The Linux Foundation’s Kubernetes Training Program,” significantly broadening my skillset.
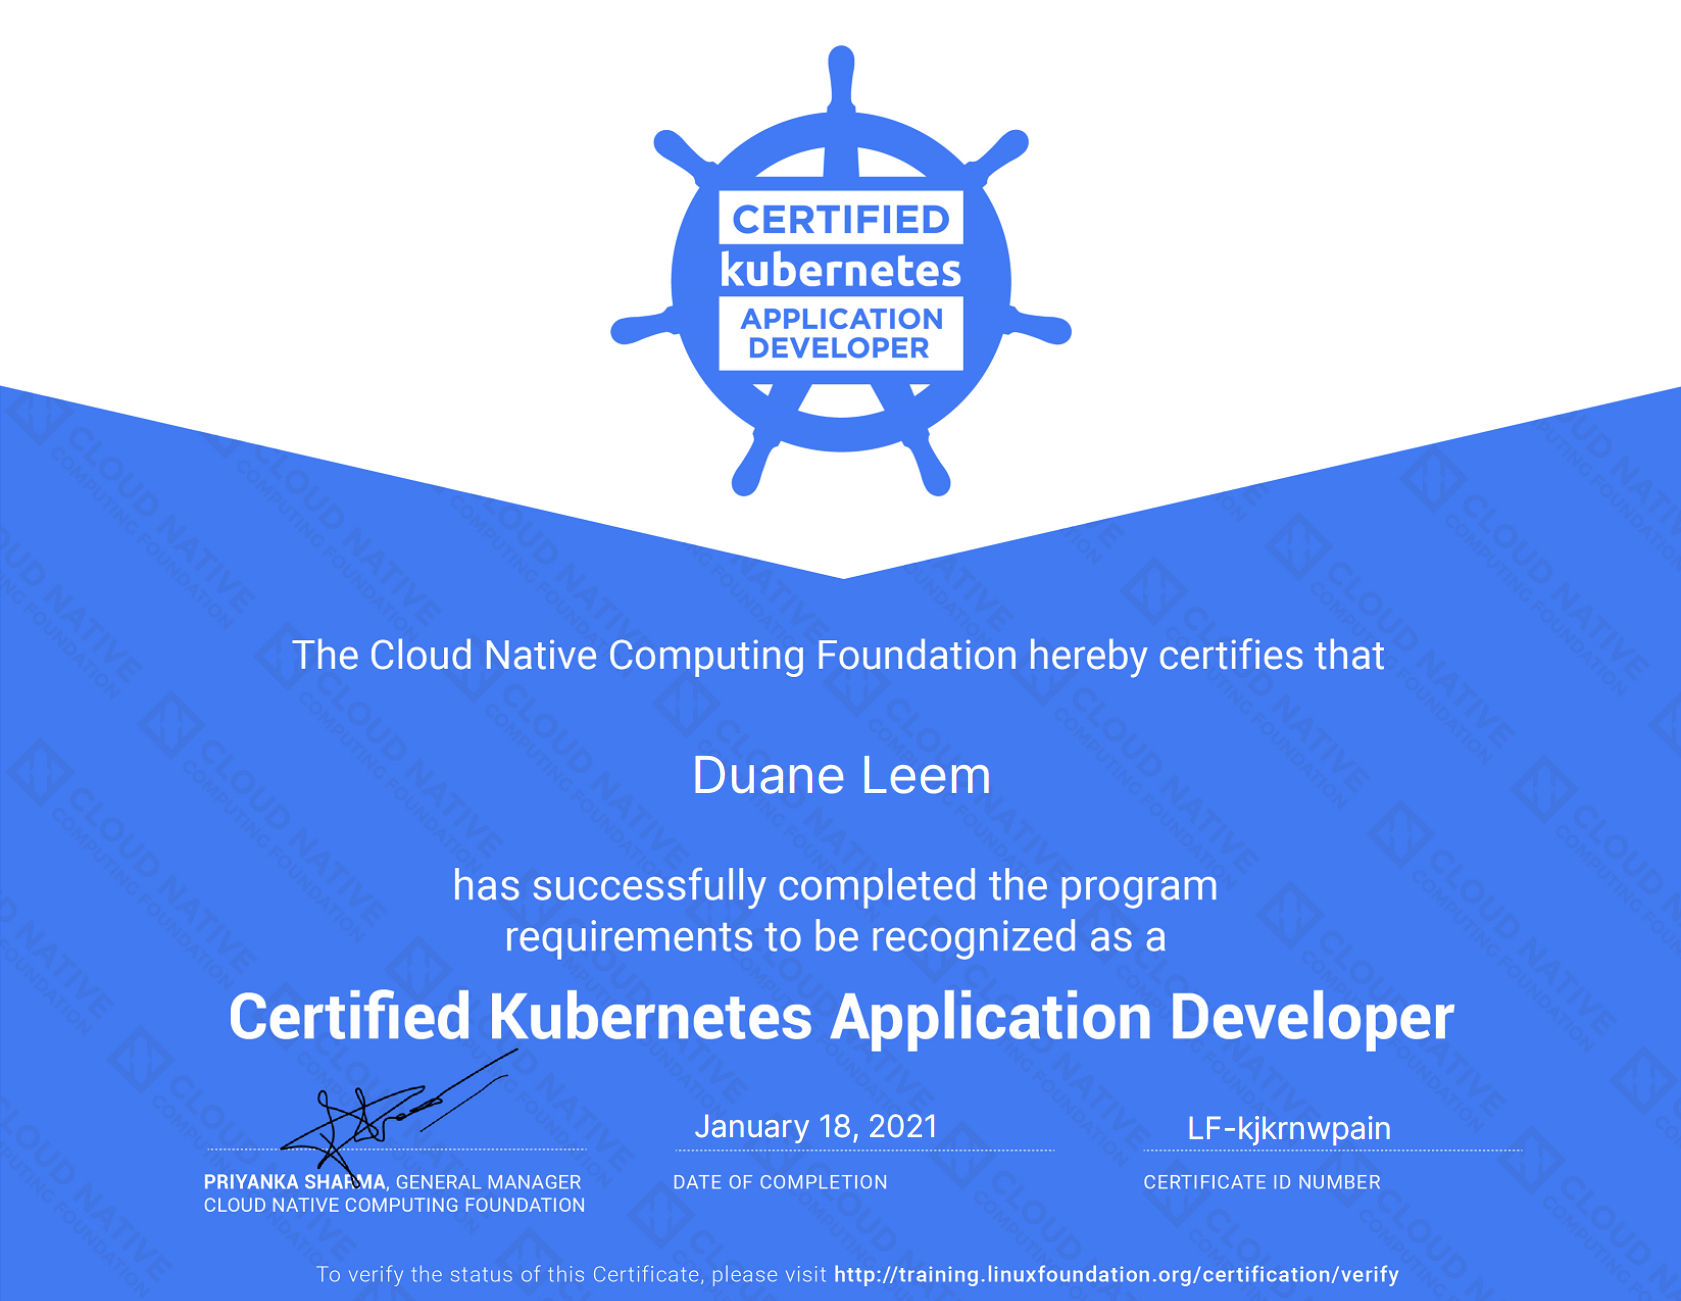
Year Three: Teamwork, Rhetoric, Kubernetes, and MIT’s Cloud & DevOps Course
Year three was a harmonious blend of team collaboration in DevOps and rhetorical finesse in Toastmasters. This was the year I got my Certified Kubernetes Application Developer certification, and I also completed “Cloud & DevOps: Continuous Transformation” at MIT, adding a scholarly dimension to my practical experience.
Year Four: Clouds, Oratory, AI Trading, and MLOps
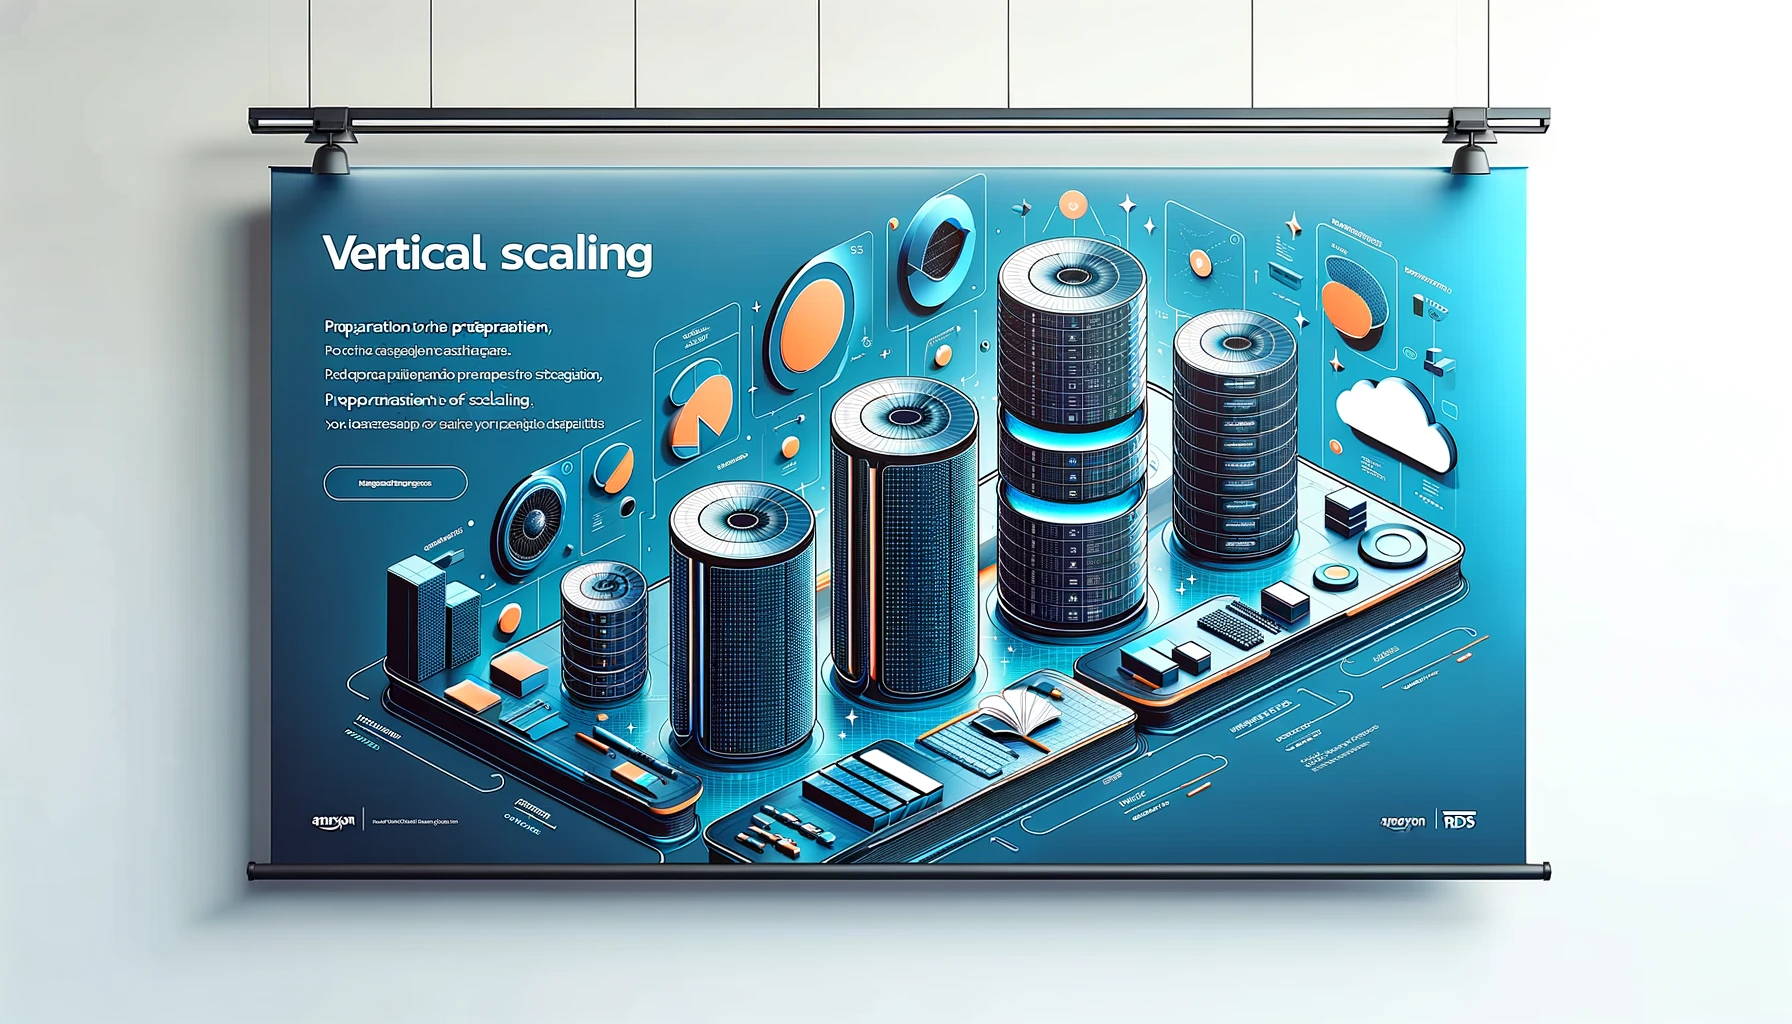
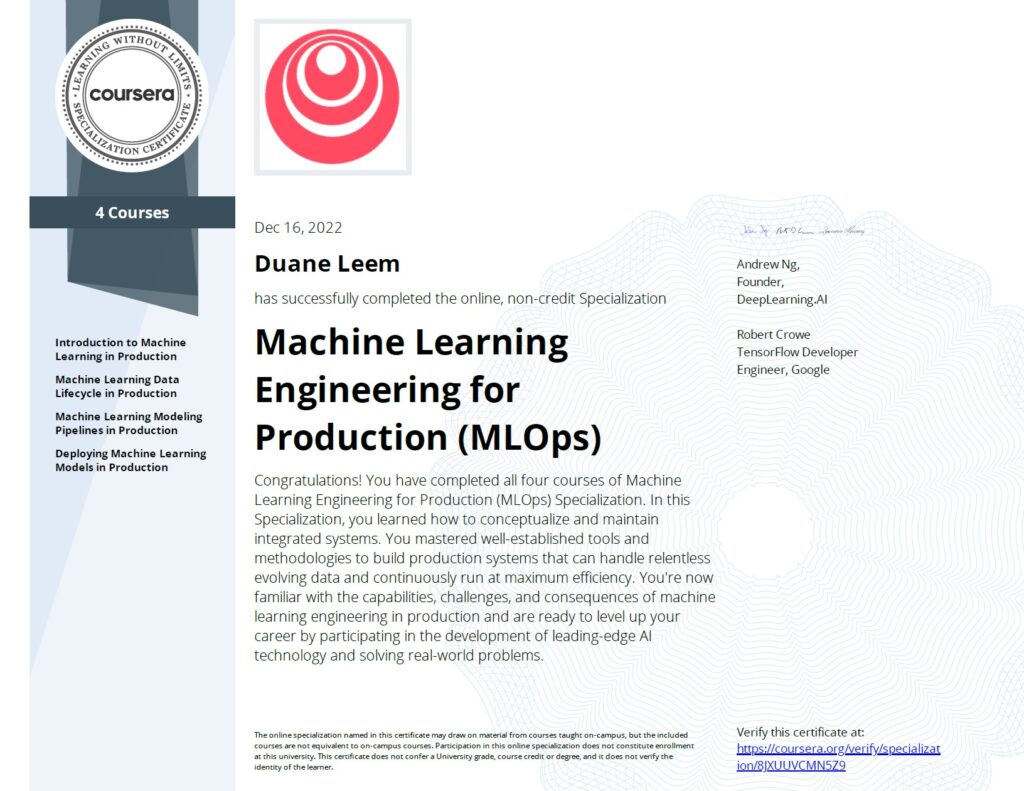
In this year, I deep-dived into cloud computing in DevOps, focusing on scalability and resource management. My Toastmasters journey took me to advanced oratory techniques. On the educational front, I completed Udacity’s Artificial Intelligence for Trading and wrapped up “Machine Learning Engineering for Production (MLOps)” by year-end.
Year Five: Machine Learning, Mastery, and CISSP
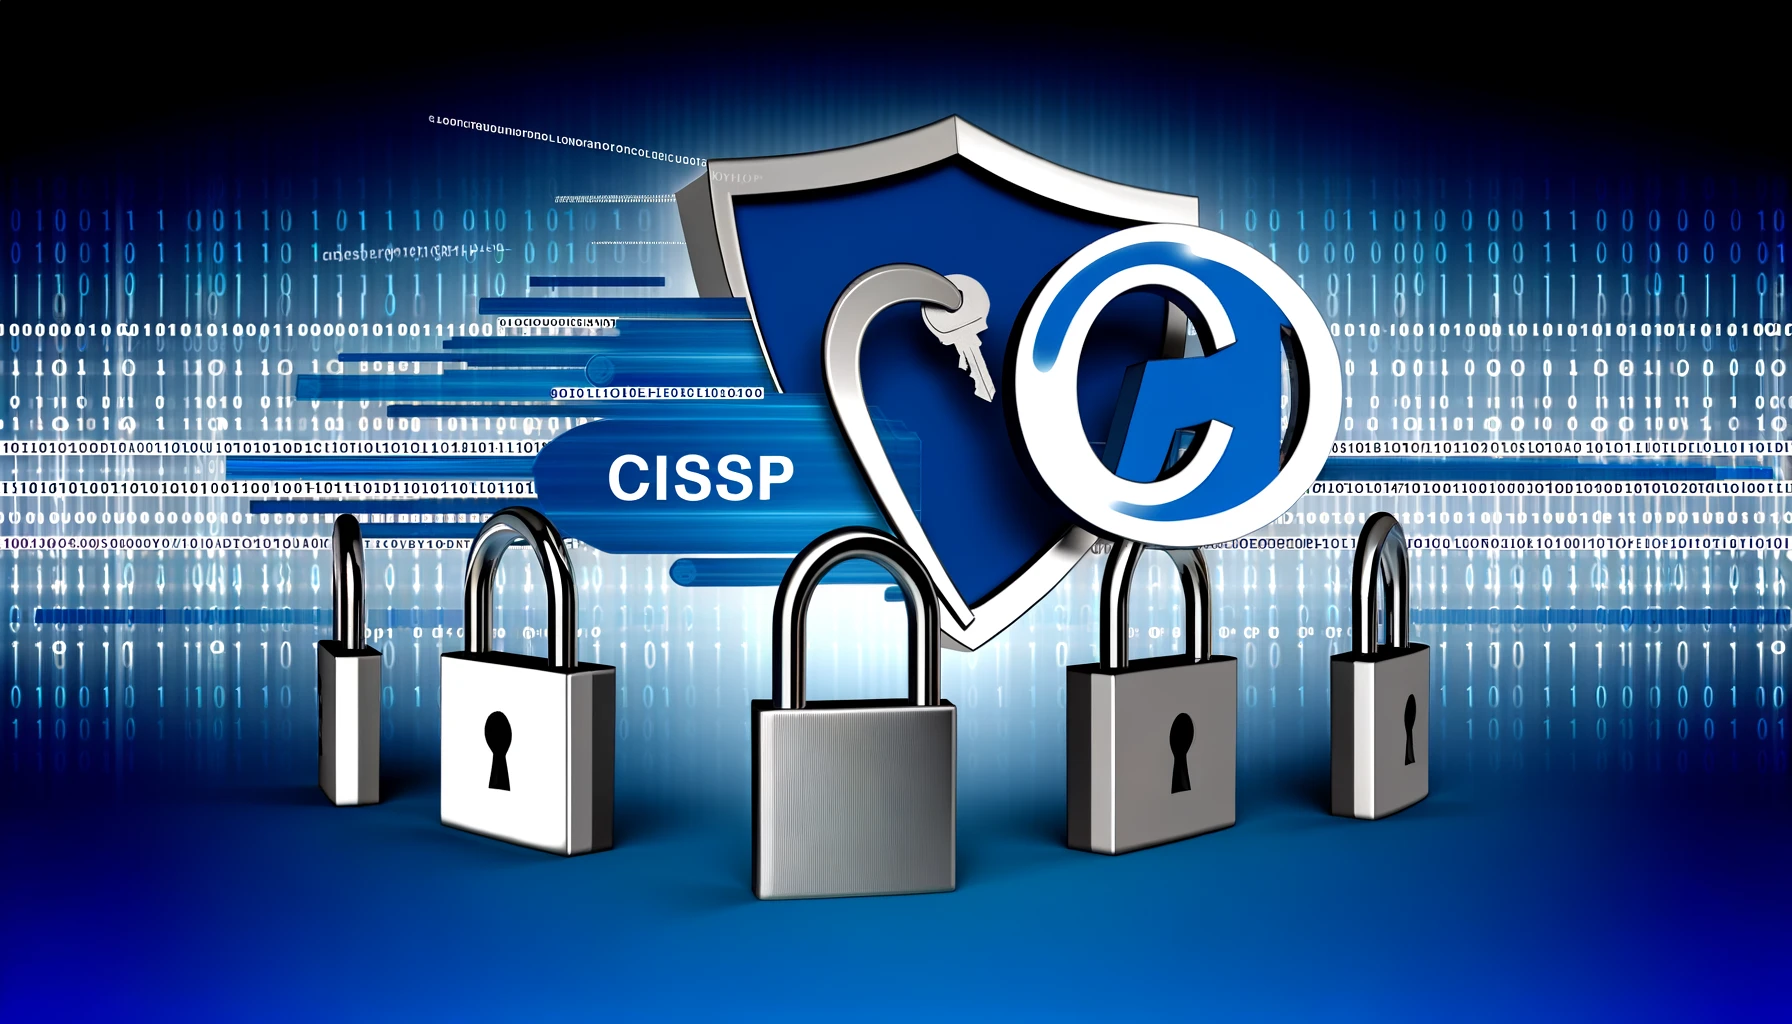
The fifth year is where my DevOps journey started to intersect intriguingly with machine learning. On the Toastmasters front, I reached a level of mastery, capable of delivering impromptu speeches effectively. Additionally, I am gearing up to sit for the CISSP test, a pivotal step in my career’s ongoing evolution.
The Golden Nuggets: Lessons Learned
- Synergy Over Separation: The DevOps and Toastmasters journeys have taught me the value of combining varied skill sets—coding with operations, speaking with leadership.
- The Learning Never Stops: Both fields require continuous education, adaptation, and growth.
- Communication is Key: Effective communication is a cornerstone in both DevOps and public speaking, and mastering it has been one of my most valuable takeaways.
The Horizon: What’s Next?
The journeys are far from over. With emerging technologies and advanced public speaking platforms, I can only imagine how much more there is to explore and learn.
I hope this dual narrative provides you some valuable insights. Your thoughts are always welcome, so please feel free to share your comments below!
Until next time,
Duane